Introduction
Solar energy has emerged as a cornerstone of sustainable living, offering a clean, renewable way to power homes and reduce electricity bills. For those looking to take energy independence into their own hands, a DIY solar installation is an exciting and cost-effective project. With the right planning and execution, you can set up a solar power system tailored to your energy needs.
This guide will walk you through the process, from planning and selecting components to installing and testing your system, ensuring a seamless DIY experience.
1. Why Opt for a DIY Solar Installation?
1.1 Cost Efficiency
Professional solar installation can add thousands of dollars to your project’s cost. By going the DIY route, you can eliminate labor expenses and allocate more of your budget to higher-quality components or additional panels.
1.2 Customization
When you handle the installation yourself, you have complete control over the design and setup. Whether it’s choosing panel placement for maximum efficiency or selecting the type of inverter, a DIY approach lets you tailor the system to your unique requirements.
1.3 Learning Opportunity
A DIY solar installation is more than just a cost-saving measure—it’s an educational journey. You’ll gain hands-on experience with solar technology, enabling you to maintain and troubleshoot your system independently in the future.
2. Planning Your DIY Solar System
2.1 Assess Your Energy Needs
- Review past electricity bills to determine your average monthly energy consumption in kilowatt-hours (kWh).
- Decide the portion of your energy usage you want to offset with solar power.
2.2 Evaluate Your Property
- Sunlight Availability: Identify the sunniest areas on your property, typically south-facing rooftops or open yards in the Northern Hemisphere.
- Shading: Minimize the impact of shading from trees, buildings, or other obstacles.
2.3 Understand Local Regulations
Check with local authorities for building codes and zoning laws related to solar installations. Obtain necessary permits and, if connecting to the grid, comply with your utility company’s interconnection requirements.
2.4 Budget Considerations
- Factor in the cost of panels, inverters, mounting systems, wiring, and optional battery storage.
- Set aside funds for tools and safety equipment if you don’t already own them.
3. Components of a Solar Power System
3.1 Solar Panels
- Monocrystalline Panels: Known for high efficiency and durability, ideal for limited space.
- Polycrystalline Panels: Slightly less efficient but more affordable, suitable for larger installations.
3.2 Inverter
The inverter converts the DC electricity generated by the panels into AC electricity for home use.
- String Inverters: Affordable and efficient for systems with uniform sunlight exposure.
- Microinverters: Installed on individual panels, they optimize performance in partially shaded setups.
- Hybrid Inverters: Compatible with battery storage for off-grid systems.
3.3 Battery Storage (Optional)
- Lithium-Ion Batteries: Compact, long-lasting, and efficient but more expensive.
- Lead-Acid Batteries: Cost-effective but bulkier and with a shorter lifespan.
3.4 Mounting Systems
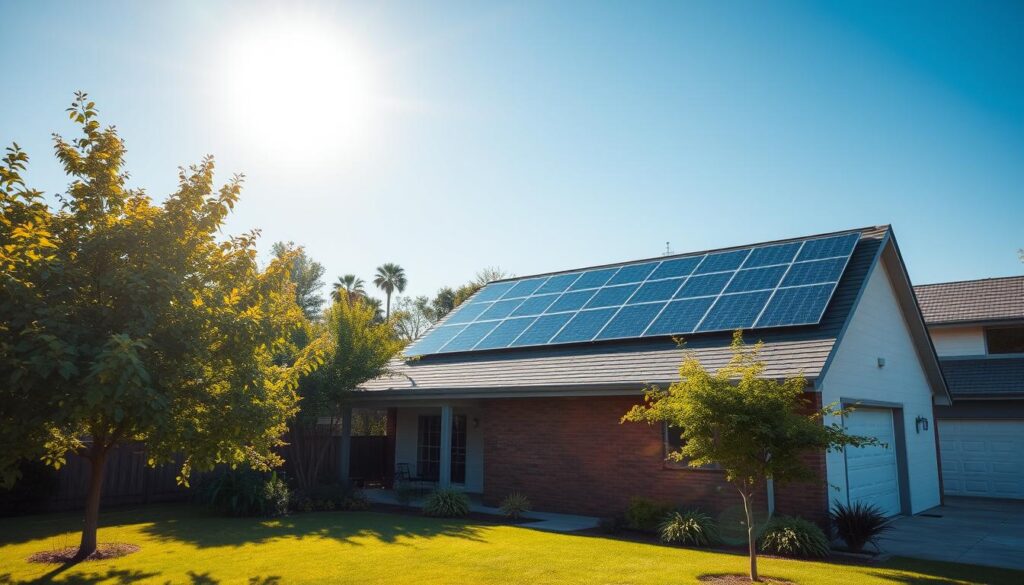
- Roof-Mounted: Fixed mounts are common for residential setups, offering stability and durability.
- Ground-Mounted: Ideal for properties with ample open space and allows easy maintenance.
3.5 Monitoring System
A monitoring system lets you track energy production, ensuring optimal performance and detecting issues early.
4. Step-by-Step DIY Solar Installation Guide
4.1 Gather Your Tools and Materials
Ensure you have essential tools like a power drill, multimeter, wiring kit, safety gear, and the solar components. Double-check that all parts match your system’s design.
4.2 Install the Mounting System
- Securely attach mounting rails to your roof using lag bolts and brackets. Ensure the structure is level and angled correctly for maximum sun exposure.
- For ground-mounted systems, construct a sturdy foundation to anchor the panels.
4.3 Connect the Solar Panels
- Attach the panels to the mounting rails with clamps.
- Wire the panels in series (for higher voltage) or parallel (for higher current), depending on your inverter.
4.4 Set Up the Inverter
- Mount the inverter in a shaded, ventilated location to prevent overheating.
- Connect the DC wires from the panels to the inverter’s input terminals.
- If using batteries, link them to the inverter according to the manufacturer’s instructions.
4.5 Wire the System to Your Home
- Connect the AC output from the inverter to your home’s main electrical panel. Use a licensed electrician if required by local codes.
- Install safety features like circuit breakers and fuses to protect your system.
4.6 Test the System
- Power up the system and monitor the inverter display or app to ensure everything functions correctly.
- Verify grid connection if you’re tying the system to your utility provider.
5. Safety Tips for DIY Solar Installation
5.1 Work Safely at Heights
- Use a stable ladder, harness, and other fall protection equipment.
- Avoid working on the roof in windy or rainy conditions.
5.2 Handle Electricity with Care
- Turn off power at the main breaker before wiring the system.
- Double-check all connections to prevent short circuits or fire hazards.
5.3 Follow Manufacturer Guidelines
- Adhere to installation manuals for all components to maintain warranty coverage.
6. Common Challenges and Their Solutions
Challenge 1: Insufficient Sunlight
- Solution: Optimize panel placement, clean panels regularly, or use tracking mounts to follow the sun’s movement.
Challenge 2: Limited Roof Space
- Solution: Invest in high-efficiency monocrystalline panels or consider ground-mounted systems.
Challenge 3: Wiring Errors
- Solution: Use a multimeter to test connections and ensure proper voltage and current flow.
7. Benefits of a DIY Solar System
7.1 Energy Independence
Generating your own electricity reduces reliance on the grid and protects you from rising utility rates.
7.2 Environmental Impact
Solar power reduces greenhouse gas emissions, helping combat climate change.
7.3 Long-Term Savings
With no monthly bills for electricity, you’ll recoup your investment in a few years, enjoying free energy thereafter.
8. Call-to-Action: Take Charge of Your Energy Future
Installing a DIY solar power system is an empowering project that combines cost savings, environmental benefits, and personal growth. With careful planning and execution, you can enjoy clean, renewable energy for years to come.
Are you ready to take the first step? Start by evaluating your energy needs and exploring solar panel options today. The sun is waiting to power your future!


