Switching to solar energy is a transformative decision that not only cuts down your energy bills but also significantly reduces your environmental footprint. For those who enjoy taking on practical projects, installing solar panels yourself presents a rewarding opportunity to save thousands of dollars on labor costs while gaining a deeper understanding of your energy system. However, DIY solar installation requires meticulous planning, technical know-how, and a clear step-by-step approach to ensure success. Whether you’re motivated by cost savings, sustainability, or the satisfaction of building something with your own hands, this guide will walk you through every stage of the process. By the end, you’ll be equipped with the knowledge and confidence to power your home with the sun’s energy.
Why Choose DIY Solar Installation?
Opting to install solar panels yourself offers a range of compelling benefits that make it an attractive option for many homeowners. Here’s why taking the DIY route might be the perfect choice for you:
1. Cost Savings
By handling the installation yourself, you can eliminate the significant labor costs associated with hiring professionals, potentially saving up to 30% on the overall expense. This makes DIY solar installation an economical solution for budget-conscious individuals looking to transition to renewable energy.
2. Hands-On Knowledge
Taking a hands-on approach allows you to fully understand how your solar system works, from the wiring to the positioning of the panels. This knowledge can be invaluable for troubleshooting and maintaining your system in the long run, giving you greater control over your energy setup.
3. Flexibility
When you manage the project yourself, you have the freedom to set the pace and schedule that suits your lifestyle. This flexibility means you can work on the installation during weekends, evenings, or whenever it’s most convenient for you, without being tied to a contractor’s timeline.
4. Personal Satisfaction
Completing a solar panel installation on your own is a rewarding achievement that brings a sense of pride and accomplishment. Knowing you contributed directly to reducing your carbon footprint and energy costs can be deeply satisfying.
However, it’s important to acknowledge that DIY solar installation requires time, effort, and attention to detail. Ensuring proper planning and execution is essential to achieve a safe, efficient, and fully functional solar energy system.
Step 1: Assess Your Energy Needs
Before diving into the installation process, it’s essential to understand your energy requirements. This foundational step ensures that your solar system is tailored to meet your household’s power consumption effectively. Here’s how to get started:
1. Review Your Electricity Bills
Take a close look at your electricity bills from the past year. Focus on the section that outlines your monthly energy usage, typically measured in kilowatt-hours (kWh). Calculating your average monthly consumption gives you a clear picture of how much energy your solar panels need to generate.
2. Account for Seasonal Variations
Energy usage can fluctuate throughout the year, depending on factors like heating, cooling, and appliance use. Ensure your calculations account for these seasonal changes to avoid undersizing your solar system.
3. Determine Your System Size
Once you know your average kWh usage, you can estimate the size of the solar system required. A general rule of thumb is that a 1-kilowatt (kW) solar system can generate around 4-5 kWh per day, depending on your location and sunlight availability. Use online calculators or consult with solar equipment providers to refine your estimates.
4. Plan for Growth
Consider any future changes in your energy needs, such as adding electric vehicles, new appliances, or expanding your household. Building some flexibility into your solar system ensures it can accommodate growing demands.
By thoroughly assessing your energy needs, you’ll be equipped to select the right size and type of solar panels, making your DIY installation both efficient and cost-effective.
Step 2: Evaluate Your Roof or Installation Area
Not all roofs or properties aBefore purchasing and installing solar panels, it’s crucial to assess the suitability of your property. A thorough evaluation ensures optimal energy production and prevents potential structural or efficiency issues. Here’s what to focus on:
1. Sunlight Exposure
- Direct Sunlight: Check that your roof or installation area receives consistent, direct sunlight throughout the day. Shaded areas caused by trees, chimneys, or nearby buildings can significantly reduce solar panel efficiency.
- Regional Factors: Use tools like solar maps or sun calculators to determine the solar potential of your property. These resources can help you estimate peak sunlight hours specific to your location.
2. Orientation and Tilt
- Ideal Orientation: A south-facing roof is generally the most efficient for capturing sunlight in the northern hemisphere.
- Tilt Angle: Roofs with a tilt between 30 and 45 degrees offer optimal performance. If your roof’s angle isn’t ideal, adjustable mounting systems can help you achieve the correct tilt.
3. Structural Integrity
- Load Capacity: Ensure your roof can handle the additional weight of solar panels, racking systems, and other equipment. Consult a structural engineer if you’re uncertain.
- Roof Condition: Inspect your roof for damage or wear and tear. It’s better to address repairs or replacements before beginning the installation process.
4. Alternative Options
If your roof doesn’t meet the necessary criteria, ground-mounted solar systems are a practical alternative. These systems offer flexibility in placement and orientation, allowing you to maximize sunlight exposure. Additionally, ground-mounted systems can be easier to maintain and clean.
Step 3: Gather Your Solar Equipment
FEquipping yourself with the right components is a crucial step in ensuring the success of your DIY solar installation. Each piece is essential for creating an efficient and safe solar power system. Here’s what you’ll need and why each component matters:
1. Solar Panels
- Purpose: Solar panels are the heart of your system, converting sunlight into direct current (DC) electricity.
- Selection Tips:
- Opt for high-efficiency panels to maximize energy generation, especially if you have limited installation space.
- Consider panel types such as monocrystalline (high efficiency, sleek appearance) or polycrystalline (cost-effective but slightly less efficient).
- Check the warranty and durability ratings to ensure long-term performance.
2. Inverter
- Purpose: Converts the DC electricity generated by your panels into alternating current (AC), which powers your appliances.
- Types to Consider:
- String Inverters: Cost-effective and ideal for installations with consistent sunlight.
- Microinverters: Installed on each panel, they optimize individual panel performance, especially in partially shaded areas.
- Hybrid Inverters: Allow for integration with battery storage systems, perfect for future-proofing your setup.
3. Mounting System
- Purpose: Secures your solar panels in place, whether on your roof or the ground.
- Options Available:
- Roof-Mounted Systems: Designed for different roof types and pitches; ensure compatibility with your roof material.
- Ground-Mounted Systems: Ideal for properties with ample land and roofs unsuitable for solar panels.
- Adjustable Mounts: Allow you to change the tilt angle for optimal seasonal sunlight exposure.
4. Battery Storage (Optional)
- Purpose: Batteries store excess energy produced during the day for use during nights or cloudy periods.
- Key Features:
- Opt for lithium-ion batteries, which are more efficient and longer-lasting than lead-acid options.
- Consider the storage capacity, charge/discharge efficiency, and warranty before purchasing.
5. Wiring and Connectors
- Purpose: These ensure your system is safely and effectively connected.
- Components Needed:
- Cables for connecting panels to the inverter and the battery (if included).
- Connectors for secure and weather-resistant connections.
- Grounding equipment to protect your system from electrical faults.
6. Monitoring System (Optional)
- Purpose: Allows you to track your solar system’s performance and energy output in real-time.
- Features: Many modern inverters come with built-in monitoring tools accessible via apps or online dashboards.
Pro Tips for Purchasing Equipment:
Bundle Deals: Many suppliers offer complete DIY kits that include all components, simplifying the purchasing process.
Reputable Suppliers: Always buy from trusted brands or certified distributors to ensure quality and warranty coverage.
Certifications: Check for industry certifications, such as UL or IEC standards, to guarantee safety and performance.
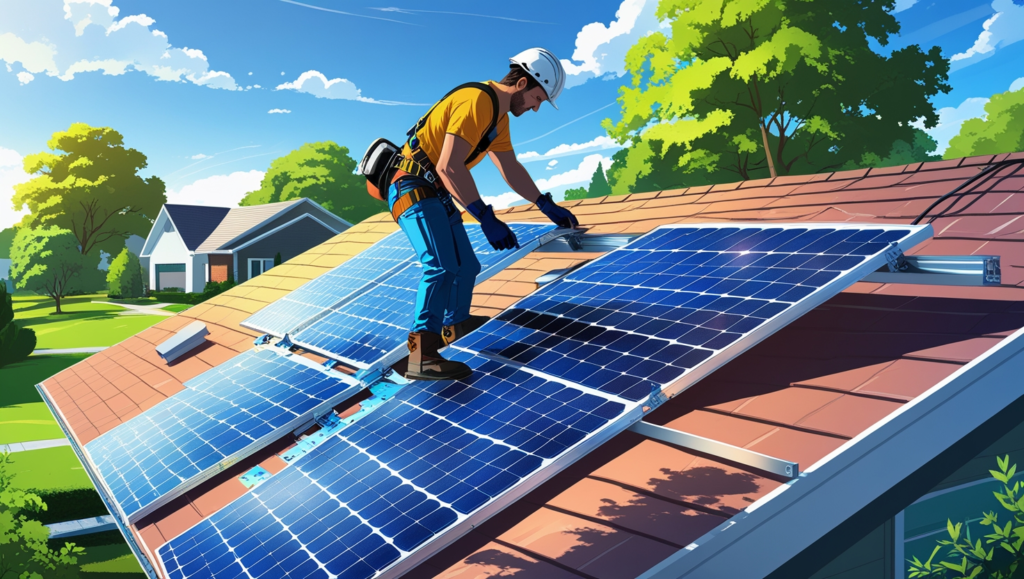
Step 4: Install the Mounting System
The mounting system forms the structural backbone of your solar installation, ensuring your solar panels remain secure and positioned for optimal sunlight exposure. Whether you’re installing on a roof or on the ground, following these steps will set you up for success.
1. Mark Panel Locations
- Why It Matters: Precise placement ensures maximum energy capture and prevents unnecessary adjustments later.
- Steps to Follow:
- Use a chalk line to outline the areas where the solar panels will be installed.
- Verify the alignment based on your roof’s orientation (south-facing in the northern hemisphere is ideal) and tilt angle for optimal sunlight exposure.
- Ensure there’s enough spacing between panels for airflow and maintenance access.
2. Secure Mounts
- Why It Matters: The mounts provide the primary connection between your solar panels and your roof or ground. A sturdy installation is crucial for withstanding weather conditions.
- Steps to Follow:
- Drill holes into your roof or the ground at the marked locations. For roof installations, ensure you drill into the rafters or joists for maximum strength.
- Apply weatherproofing sealant around the drilled holes to prevent leaks.
- Attach the mounting brackets securely, making sure they are level and aligned with your chalk markings.
- Tighten the bolts and screws using the manufacturer’s recommended torque to ensure stability.
3. Add Rails
- Why It Matters: Rails serve as the base where your solar panels will be mounted, ensuring proper alignment and even weight distribution.
- Steps to Follow:
- Attach the rails to the mounting brackets using the provided hardware.
- Ensure the rails are level and spaced according to the dimensions of your solar panels.
- Use a spirit level to confirm that the rails are perfectly aligned to prevent issues during panel installation.
- Tighten all bolts and screws, ensuring a secure and stable base.
Pro Tips for Installing the Mounting System:
- Double-Check Measurements: Precision at this stage will save you time and effort during panel installation.
- Weatherproofing: Always use a high-quality sealant for roof installations to avoid future water damage.
- Consult the Manual: Refer to the manufacturer’s installation guide for specific instructions and torque specifications.
- Safety First: Use appropriate safety gear, such as harnesses for roof installations and gloves to protect your hands.
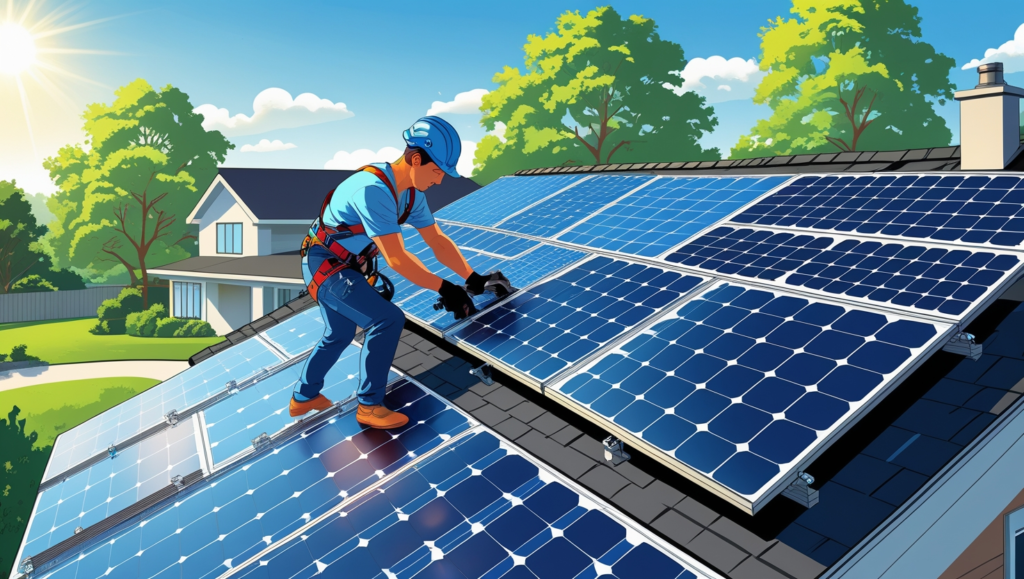
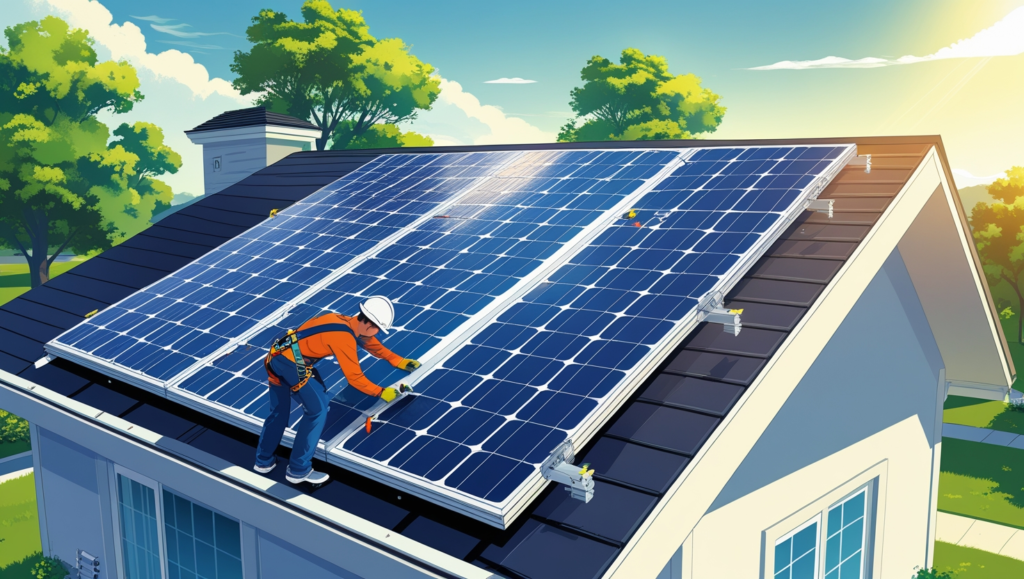
Step 5: Attach the Solar Panels
Attaching the solar panels is a critical step in your DIY solar installation. Proper placement and secure fastening not only ensure safety but also maximize energy efficiency. Here’s how to do it:
1. Position the Solar Panels
- Why It Matters: Proper alignment ensures the panels capture maximum sunlight, optimizing energy production.
- Steps to Follow:
- Carefully lift each solar panel onto the installed rails. Use a helper for this step, as panels can be heavy and delicate.
- Align the panels according to the chalk lines or pre-marked positions on the rails.
- Ensure there’s consistent spacing between the panels for airflow and thermal expansion.
2. Secure the Panels
- Why It Matters: A securely fastened system withstands wind, weather, and other external factors.
- Steps to Follow:
- Use clamps or screws provided by the manufacturer to attach the panels to the rails.
- Start by loosely securing the clamps to allow adjustments, then tighten them firmly once alignment is confirmed.
- Refer to the manufacturer’s guide for proper torque specifications to avoid over-tightening, which could damage the panels.
3. Check the Panel Angle
- Why It Matters: The correct angle maximizes sunlight absorption, especially during peak sun hours.
- Steps to Follow:
- Use a digital or manual angle finder to adjust the tilt of your panels to the recommended angle for your location.
- South-facing installations in the northern hemisphere typically work best at a tilt angle equal to your latitude.
- For adjustable systems, fine-tune the angle seasonally to optimize energy production.
Pro Tips for Attaching Solar Panels:
Test for Shading: Once installed, check for any potential sources of shade (e.g., nearby trees or chimneys) that might reduce efficiency.
Handle with Care: Always handle panels by the edges to avoid damaging the glass or cells.
Secure While Working: Use safety equipment like harnesses for roof installations and ensure panels are stable before fastening.
Double-Check Connections: After securing, ensure no panel is loose or misaligned, as this could impact performance or safety.
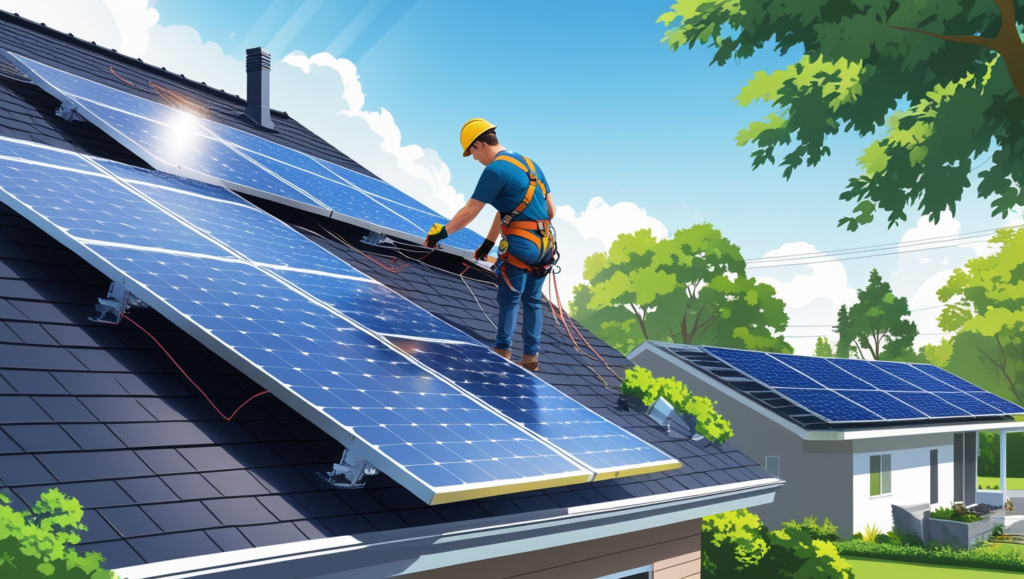
Step 6: Connect the Electrical Components
Connecting the electrical components is a crucial step in your DIY solar installation. It transforms the energy captured by your solar panels into usable electricity for your home. Proper wiring ensures the system operates efficiently and safely. Here’s how to complete this step:
1. Connect the Solar Panels
- How It Works: Solar panels are linked together to form an electrical circuit, which determines the system’s voltage and current.
- Steps to Follow:
- Identify whether your system requires a series or parallel connection:
- Series Connection: Increases voltage by connecting the positive terminal of one panel to the negative terminal of the next.
- Parallel Connection: Increases current by connecting all positive terminals together and all negative terminals together.
- Use the connectors provided (typically MC4 connectors) to securely link the panels according to your system’s design.
- Identify whether your system requires a series or parallel connection:
2. Wire Panels to the Inverter
- How It Works: The inverter converts the direct current (DC) from your panels into alternating current (AC), which powers your home.
- Steps to Follow:
- Route the wires from the panels to the inverter. Use conduit to protect the wiring from weather or damage.
- Connect the positive and negative panel wires to the corresponding input terminals on the inverter.
- Double-check the polarity (positive to positive, negative to negative) to avoid damaging the inverter.
3. Connect the Inverter to Your Home
- How It Works: The inverter is wired to your home’s breaker box, integrating your solar system with your existing electrical grid.
- Steps to Follow:
- Run wiring from the inverter’s output to your home’s breaker box.
- Install a dedicated breaker for the solar system to isolate it in case of maintenance or emergencies.
- For grid-tied systems, ensure a two-way meter is installed to measure energy sent to and drawn from the grid.
4. Test the System
- Why It’s Important: Before activating the system, testing ensures all connections are secure and the components function correctly.
- Steps to Follow:
- Use a multimeter to check for proper voltage and current at key points in the circuit.
- Power on the inverter and monitor its display for any error messages.
Safety Note:
If you’re not experienced with electrical work, this step can be hazardous. Incorrect wiring poses risks of fire, electrocution, or damage to your solar equipment. Consult a licensed electrician to verify connections and ensure compliance with local electrical codes.
Step 7: Test and Activate Your System
The final step in your DIY solar installation is to test and activate the system. This ensures everything functions correctly and safely before you officially go solar. Follow these steps to complete the process:
1. Perform a Thorough Inspection
- Connections: Check that all wiring connections are secure and properly insulated to prevent short circuits or power loss.
- Mounting System: Confirm that the panels are firmly attached to the rails and positioned at the optimal angle for sunlight.
- Components: Ensure the inverter, battery (if applicable), and other equipment are correctly installed and connected.
2. Test the Inverter
- How to Check:
- Power on the inverter and observe its display. Most inverters have indicators or screens that show system status, voltage, and power output.
- Look for any error codes or warnings that may indicate a problem. Refer to the manufacturer’s manual for troubleshooting tips.
3. Monitor System Performance
- Initial Testing:
- Use a multimeter to measure voltage and current at various points in the circuit.
- Compare the readings to the expected values based on your system’s design.
- Energy Generation:
- Observe the inverter’s output to confirm it’s converting DC from the panels into usable AC electricity.
- Monitor the power production over several hours to ensure the system operates consistently.
4. Activate Your Solar System
- Once the inspection and testing are complete, it’s time to flip the switch:
- Turn on the breaker for the solar system in your home’s electrical panel.
- Activate the inverter to begin generating electricity.
- For grid-tied systems, notify your utility company to finalize the interconnection and start tracking energy credits if applicable.
5. Monitor Long-Term Performance
- Use monitoring software or apps provided by your inverter manufacturer to track your system’s performance daily.
- Regularly check for any drops in energy output, which could indicate maintenance needs such as cleaning or repairs.
Enjoy the Benefits of Solar Energy
Once activated, your solar system will immediately start powering your home with renewable energy. Congratulations on completing your DIY solar installation! Not only have you taken a significant step toward energy independence, but you’ve also contributed to a cleaner, more sustainable future.
Maintenance Tips for Long-Term Efficiency
Proper maintenance is essential to ensure your solar panels operate at peak performance for years to come. Here’s how you can keep your system running efficiently:
1. Clean Your Panels Regularly
- Why It’s Important: Dust, dirt, leaves, and snow can accumulate on the surface of your panels, reducing their ability to absorb sunlight.
- How to Clean:
- Use a soft brush or sponge with mild soap and water to remove grime. Avoid abrasive materials that can scratch the panels.
- For snowy regions, consider installing a snow rake designed for solar panels to safely clear snow without damaging the glass.
- Frequency: Clean at least twice a year or more often in dusty or snowy climates.
2. Inspect Connections and Mounts
- Why It’s Important: Loose or damaged connections can lead to energy loss or system failure.
- What to Check:
- Inspect wiring for signs of fraying, corrosion, or loose connections.
- Examine mounting brackets and rails to ensure they remain secure and haven’t been affected by wind or weather.
- Frequency: Perform a visual inspection every 3-6 months or after severe weather events.
3. Monitor System Performance
- Why It’s Important: Tracking your system’s energy output helps you spot potential issues early, such as a drop in performance due to shading or equipment malfunctions.
- Tools to Use:
- Most inverters come with companion apps or monitoring software that provide real-time data on energy production.
- Set alerts for significant deviations from normal output to address problems promptly.
- What to Watch For:
- Significant drops in power generation during sunny days.
- Error messages or warnings from your inverter or monitoring system.
4. Schedule Professional Check-Ups
- Why It’s Important: While DIY maintenance is effective for routine care, a professional inspection ensures all components are in top condition.
- What to Expect:
- A technician will check electrical connections, test performance metrics, and clean hard-to-reach panels.
- Frequency: Arrange for a professional inspection every 1-2 years.
Is DIY Solar Installation Right for You?
Installing solar panels yourself can be a rewarding and cost-effective project, but it’s not for everyone. Consider your technical skills, available time, and budget before committing to a DIY approach. If the process feels overwhelming, hiring a professional installer might be the better choice.
Ready to harness the power of the sun? A DIY solar installation can be a fulfilling way to reduce energy costs and contribute to a sustainable future. With the right tools, knowledge, and planning, you’ll be well on your way to enjoying the benefits of solar energy. Start your journey today—your future self (and the planet) will thank you!
Conclusion
Installing a solar energy system yourself is an exciting and rewarding project that empowers you to save money, reduce your carbon footprint, and gain a deeper understanding of renewable energy. While the process requires careful planning, proper tools, and a commitment to safety, the benefits of harnessing the sun’s power are well worth the effort.
By following this step-by-step guide, you can successfully install a solar system tailored to your energy needs. Remember to conduct thorough research, consult professionals when necessary, and prioritize maintenance to ensure long-term efficiency. Whether you’re looking to power your home sustainably or reduce reliance on the grid, a DIY solar installation is a significant step toward a greener, more energy-efficient future.


