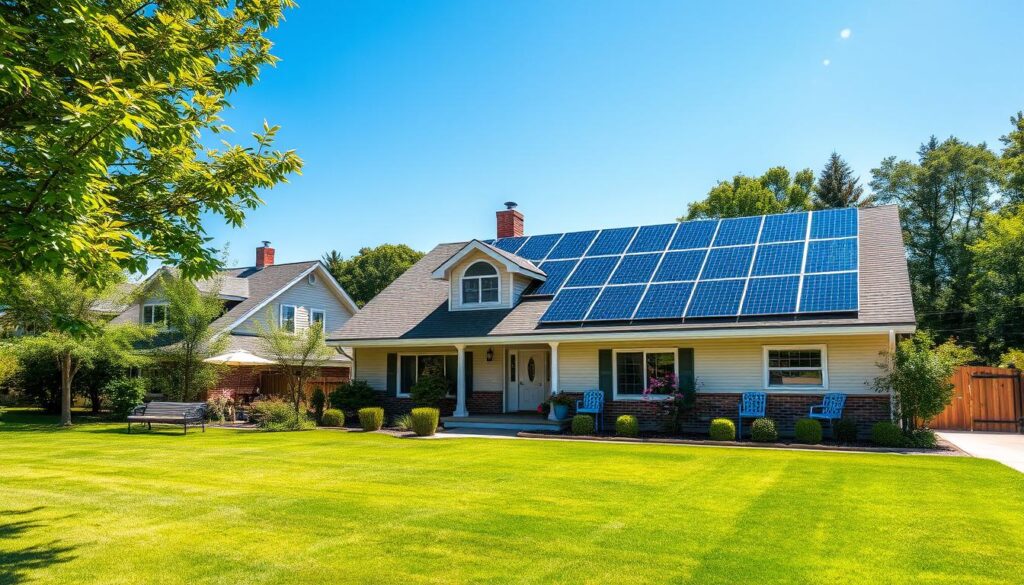
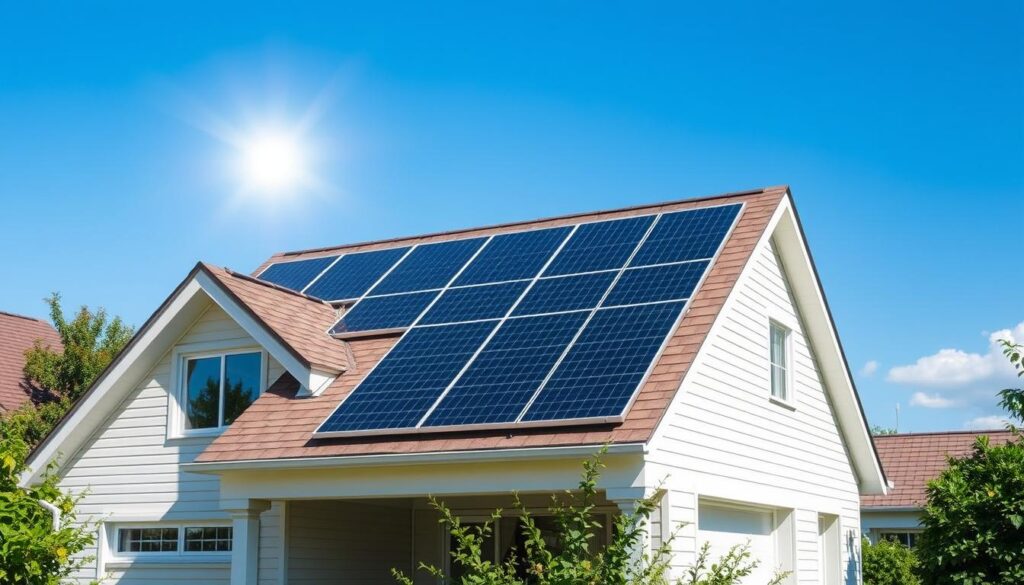
DIY Guide
More and more homeowners want to cut their energy costs and live sustainably. Installing solar panels is a popular choice. This guide will walk you through the DIY solar installation process step by step.
Maybe you want to use renewable energy, lower your carbon footprint, or save on bills. This guide will give you the knowledge and steps to install solar panels at home.

Key Takeaways
- Understand the fundamental principles of solar panel technology and system requirements for your home
- Learn how to calculate your home’s solar energy needs and select the appropriate photovoltaic panels
- Discover the essential tools and equipment required for a DIY solar installation project
- Explore the step-by-step process of planning, mounting, and securing the solar panels on your rooftop
- Familiarize yourself with the electrical wiring and system connection requirements
- Ensure compliance with local building codes and obtain necessary permits
- Gain the confidence to take control of your home’s renewable energy generation
Understanding Solar Panel Basics and System Requirements
Using photovoltaic panels to harness the sun’s power is a big step towards a greener home. To set up a solar energy system right, you need to know the basics and what your home needs.
Types of Photovoltaic Panels for Residential Use
There are mainly two types of photovoltaic panels for homes: monocrystalline and polycrystalline. Monocrystalline panels are more efficient and look sleek. Polycrystalline panels are cheaper but less efficient. Think about your energy needs, budget, and style to choose the best panels for you.
Calculating Your Home’s Solar Energy Needs
- Look at your energy use by checking your bills and when you use the most.
- Figure out how big your solar system should be based on your energy use and roof space.
- Think about how much sun your roof gets, its direction, and any shadows to get the most energy.
Essential Tools and Equipment Checklist
Getting ready is key for a DIY solar panel job. Here’s what you’ll need:
| Tool/Equipment | Purpose |
|---|---|
| Drill and drill bits | For mounting and securing the solar panels |
| Wrenches and sockets | For assembling the mounting system and making electrical connections |
| Wire cutter and stripper | For cutting and stripping electrical wires |
| Ladder and safety harness | For safely accessing the roof and installation area |
| Multimeter | For testing electrical connections and system performance |
Knowing about photovoltaic panels, figuring out your energy needs, and getting the right tools will help you install a solar system. This is a big step towards a greener, cheaper home.
Planning Your Rooftop Solar Installation Project
Starting a rooftop solar panel project needs careful planning. First, check your roof’s condition and how it faces the sun. This helps place your rooftop solar panels for the best performance.
Next, figure out your home’s energy use. Knowing how much power you need helps choose the right solar panel mounting system size. This ensures your solar setup meets your eco-friendly goals.
Designing your solar system’s layout is key. Think about where to put panels, wiring, and how to connect it to your home’s electrical system. A good design boosts your solar energy and fits well with your property.
Also, talk to local officials and look for green home renovations incentives. These can lower the cost of going solar, making it easier on your wallet.
| Key Considerations | Importance |
|---|---|
| Roof Assessment | Determines optimal panel placement and orientation |
| Energy Needs Calculation | Ensures appropriate solar system size and capacity |
| System Design Layout | Optimizes energy production and seamless integration |
| Incentives and Rebates | Enhances the financial feasibility of the project |
With good planning, your rooftop solar project can lead to a greener lifestyle. It’s a step towards a more sustainable future.

“The path to a sustainable future starts with the choices we make today.”
DIY Guide: Installing Solar Panels on Your Home
Starting a solar panel project is exciting for those who care about the environment. This guide will help you install solar panels on your home. We’ll cover mounting, placement, and safety steps.
Mounting System Assembly Steps
The first step is to assemble the mounting system. This is the base that holds your panels. Start by reading the instructions and picking the right hardware for your roof and panels. Follow the assembly steps carefully to make a strong base.
Panel Placement and Securing Techniques
Now, place your solar panels on the mounting system. Measure and mark the best spots on your roof. Think about sun, shade, and panel direction. Use the mounting hardware to secure the panels, making sure they’re level and right.
Safety Measures During Installation
Always put safety first when working on DIY solar power projects. Wear safety glasses, gloves, and non-slip shoes. Keep the area safe and avoid falls. Check local rules for safety needs. This way, you can work safely and finish your eco-friendly home improvements without worries.
By following these steps, you can install your solar panels and move towards off-grid living guides. Remember, safety and detail are crucial for a successful solar panel installation tutorials.

Electrical Wiring and System Connections
Setting up a solar photovoltaic system for your home needs careful electrical wiring and connections. This step is key to safely and efficiently linking your renewable energy to your home’s electrical system.
Connecting Solar Panels to the Grid
The first step is to link your solar panels to the main electrical grid. You’ll need to run conduit and cables from the panels to your home’s electric panel. It’s vital to follow local building codes and safety rules for a secure connection.
Inverter Installation and Wiring
The inverter is a key part of your solar system. It changes the direct current (DC) from the panels into alternating current (AC) for your home use. The inverter must be correctly wired to the panels and your home’s electrical system.
- Find the best spot for the inverter, close to the panels and easy to reach.
- Install the needed electrical conduit and cables from the panels to the inverter.
- Connect the inverter to your home’s electric panel, following local electrical codes.
Grounding and Surge Protection
Grounding and surge protection are vital for your solar system’s safety and reliability. This includes installing ground rods, bonding the solar array, and using surge suppressors to protect your home’s electrical system from power surges.
| Component | Purpose | Importance |
|---|---|---|
| Ground Rods | Provide a safe path for electrical current to flow into the earth | Crucial for safety and system protection |
| Bonding | Connects all conductive components to the grounding system | Prevents voltage differences and ensures safety |
| Surge Suppressors | Protect electrical equipment from power surges and voltage spikes | Safeguard your solar power system and home electronics |
By following these electrical wiring and system connection best practices, you can ensure your home’s solar photovoltaic system operates safely and efficiently. This supports your renewable energy goals and green living lifestyle.
Required Permits and Local Building Code Compliance
When you start a residential solar energy system project, you need to know about local building codes and permits. It’s important to follow these rules to make sure your DIY solar project is safe and works well with the local grid.
Common Building Code Requirements
Building codes for solar energy systems differ by area. You might need to check a few things:
- Structural integrity assessments for rooftop solar panel installations
- Electrical system upgrades to handle increased energy capacity
- Proper grounding and lightning protection measures
- Compliance with energy efficiency standards
Documentation and Inspection Process
To get the right permits, you’ll need to submit detailed plans and drawings. Then, there will be on-site inspections to check if your solar system is safe and meets all the rules.
| Permit Type | Typical Requirements |
|---|---|
| Building Permit | Structural analysis, electrical diagrams, and system specifications |
| Electrical Permit | Electrical system upgrades, grounding, and safety features |
| Roofing Permit | Roof integrity assessment and modifications for panel installation |
Working with Local Authorities
It’s key to work well with local building departments and utility companies for a successful solar panel installation. Be ready to answer any questions and provide all the needed documents to meet the requirements.
Following local building codes and getting the right permits is vital for your solar energy system’s long-term safety and reliability.
Conclusion
This DIY guide has shown you how to install solar panels at home. It’s a great way to live sustainably and save money on energy. You’ll learn about solar tech, figure out your energy needs, and install the panels yourself.
Using solar energy at home does more than save money. It helps the planet and reduces your carbon footprint. This makes a big difference and encourages others to live more sustainably.
Starting your solar journey is a big step towards a greener home. You’ll be using clean energy for years. This guide has given you the tools to be an energy-smart homeowner, enjoying the benefits of solar power.
FAQ
What types of photovoltaic panels are suitable for residential use?
For homes, you can choose between monocrystalline and polycrystalline silicon panels. They vary in efficiency, cost, and look. Homeowners should pick the best one for their needs and budget.
How do I calculate my home’s solar energy needs?
To figure out your home’s solar needs, look at your monthly energy use, roof setup, and sunlight. Use online tools or get a professional audit to size your system right.
What tools and equipment are needed for a DIY solar panel installation?
You’ll need mounts, cables, a solar inverter, circuit breakers, and basic tools like wrenches and screwdrivers. Make sure you have everything before starting.
How do I optimize the placement of my solar panels on the roof?
For best placement, think about roof direction, tilt, and shading. Face panels south and tilt them for more sun. Avoid shadows from trees or buildings.
What safety measures should I take during the installation process?
Safety first! Wear gloves and safety glasses. Work in a stable area, follow instructions, and turn off power before starting.
How do I properly integrate my solar panel system with my home’s electrical system?
To connect your system, install the inverter, wire it up, and link it to your circuit breakers. Always follow local codes and get a licensed electrician’s help.
What permits and building code requirements do I need to consider for my DIY solar project?
Know your local building codes and permits before starting. You might need to get permits, submit plans, and pass inspections. Working with local authorities ensures your project is up to code.


