Introduction
Imagine harnessing the sun’s energy to power your home while saving on electricity bills and reducing your carbon footprint. DIY solar panel installation isn’t just for the pros—it’s a project you can take on yourself with the right guidance, tools, and determination. This guide will walk you through every step, from selecting materials to connecting your panels. Whether you’re motivated by cost savings, self-sufficiency, or sustainability, DIY solar installation can bring you closer to energy independence and a more eco-friendly lifestyle.

Why Choose DIY Solar Installation? Pros and Cons
Is DIY Solar Right for You?
Taking on a DIY solar installation has significant benefits, but it’s important to be aware of both the rewards and the challenges. Here’s what you should consider:
- Cost Savings: One of the main reasons people go DIY is to avoid labor costs. You can save a substantial amount by skipping the professional fees.
- Control Over the Project: With a DIY installation, you make all the decisions, from equipment choices to system layout.
- Skill Requirements: DIY solar requires basic electrical knowledge, physical effort, and attention to safety. It’s manageable, but it does demand preparation.
Overall, DIY solar installation is a great choice for those ready to invest time and effort into learning the process and handling installation hands-on.
Essential Tools and Materials Needed for Solar Installation
What You’ll Need to Get Started
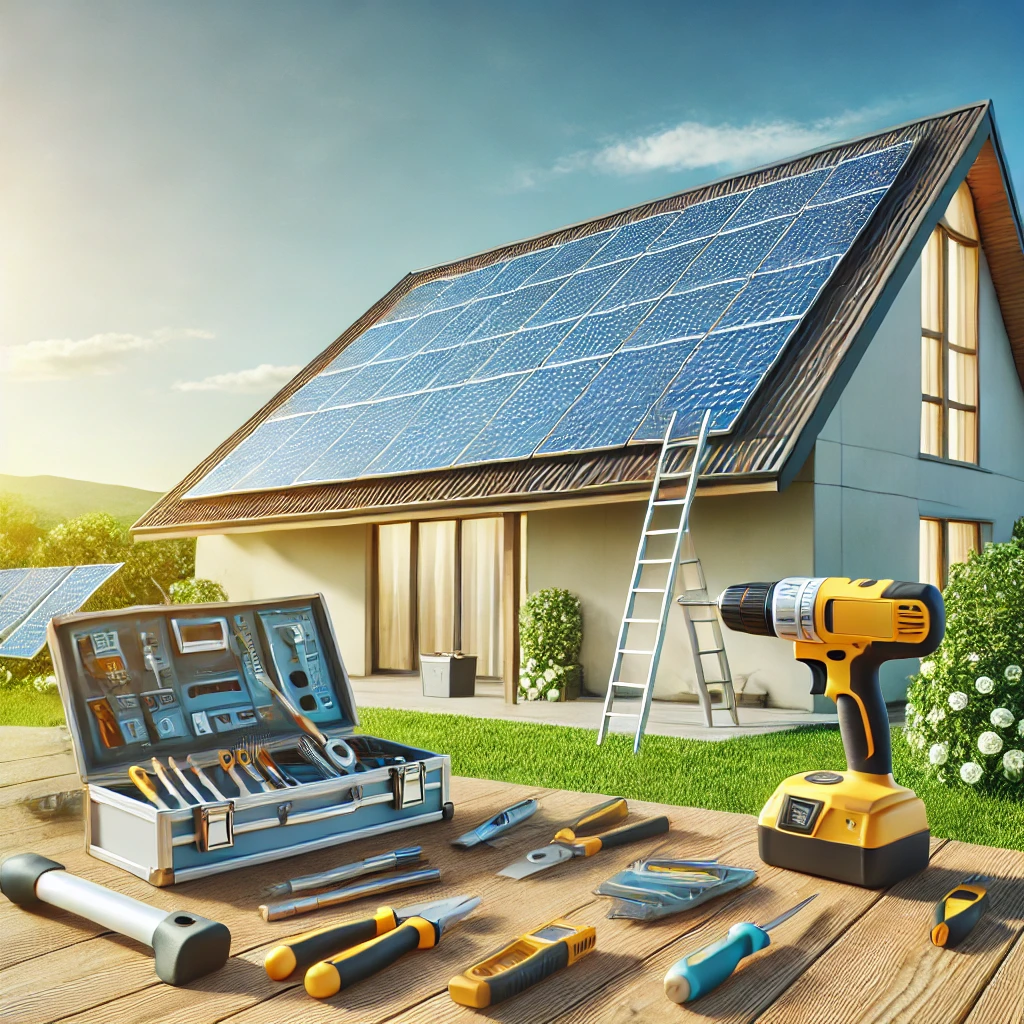
Before you begin, ensure you have all the tools and materials for a smooth installation. Here’s a checklist:
| Tool/Material | Purpose | Estimated Cost |
|---|---|---|
| Solar Panels | Generate electricity | Varies by type |
| Inverter | Convert DC to AC | $500 – $2,000 |
| Mounting Hardware | Secure panels to roof or ground | $100 – $1,000 |
| Multimeter | Measure electrical output | $20 – $50 |
| Safety Gear | Protect yourself during installation | $50 – $100 |
Gathering these essentials will prepare you to move forward confidently.
Understanding Your Solar Panel System: Key Components
Solar Panel Components Explained
To get the most out of your system, it helps to understand the function of each main component:
- Solar Panels: These are the primary components, capturing sunlight and converting it into electricity.
- Inverter: This device transforms the direct current (DC) produced by the panels into alternating current (AC), which powers most home appliances.
- Battery Storage: Optional but valuable for storing excess energy if you’re aiming for off-grid functionality.
- Mounting Hardware: Used to secure your panels to your roof or a ground mount, ensuring they’re stable and optimally angled.
Knowing these components helps you make informed choices during installation.
Step-by-Step Guide to DIY Solar Panel Installation
Installing Solar Panels on Your Roof or Ground Mount
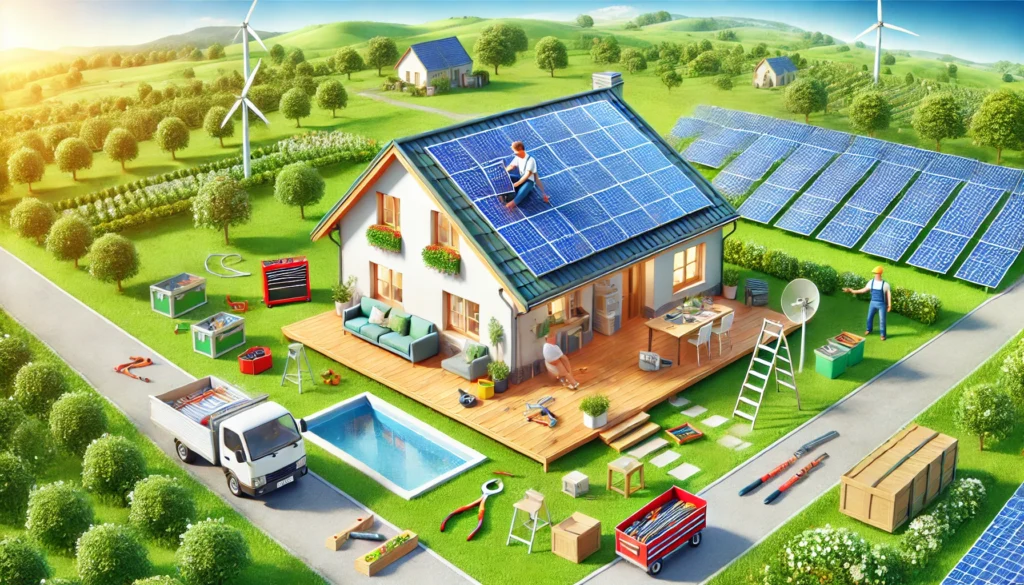
Here’s a step-by-step breakdown to guide you through the installation process:
- Determine the Optimal Location: Choose a spot with maximum sun exposure. Most installations are rooftop, but ground mounts can work if they receive ample sunlight.
- Install Mounting Brackets: Securely attach brackets to hold the panels in place. Double-check the stability of each bracket for safety.
- Safety Tips: Use a sturdy ladder, wear non-slip shoes, and avoid working on windy days.
- Secure and Connect Solar Panels: Position each panel carefully on the mounting brackets. Follow manufacturer guidelines for securing them to prevent any loosening over time.
- Wire the System: Connect the solar panels to your inverter, then link the inverter to your home’s electrical grid or battery storage.
- Testing and Activation: Once everything is connected, turn on the system and monitor its output to ensure it’s functioning correctly.
By following these steps, you’ll establish a well-functioning DIY solar system that’s securely installed.
Common Pitfalls and How to Avoid Them
DIY Solar Installation Mistakes to Watch Out For
Here are some common mistakes to avoid:
- Skipping Permit Checks: Always check for any permits required by your city or state to avoid penalties.
- Improper Mounting: Loose mounting can lead to panel damage. Double-check all screws and bolts.
- Miswiring: If wires aren’t connected correctly, it could lead to system malfunction or even hazards. Take your time with wiring to ensure it’s done properly.

Maintenance Tips to Keep Your Solar Panels Efficient
Maximizing Efficiency with Regular Maintenance
Maintaining your solar panels is simple but crucial for peak performance. Here’s what you can do:
- Keep Panels Clean: Dust and debris can reduce efficiency, so clean your panels every few months with water and a soft brush.
- Inspect Wiring Regularly: Check for signs of wear or any loose connections to prevent power loss.
- Check Mounts: Ensure that the mounting hardware remains tight and free from rust.
Routine maintenance ensures your panels continue to produce maximum energy over time.
Cost Analysis: Is DIY Solar Worth the Investment?
Calculating DIY Solar Savings
The cost of DIY solar installation varies, but it’s typically more affordable than hiring professionals. Here’s a general breakdown:
- Equipment Costs: $3,000 – $10,000, depending on system size and panel quality.
- Labor Savings: DIY can reduce total costs by 20-40%.
- Long-Term Savings: By generating your own electricity, you’ll lower monthly utility bills, and over time, these savings help your system pay for itself.
FAQ
- Do I need a permit for a DIY solar installation?
Yes, many areas require permits. Contact local authorities to confirm requirements. - How much can I save with a DIY installation?
By doing it yourself, you avoid labor fees, potentially saving thousands. - Can I install solar panels without batteries?
Yes, you can stay connected to the grid and only use batteries if you want off-grid storage.
Conclusion
By completing your own solar installation, you gain more than energy savings—you gain a sense of accomplishment, a greener lifestyle, and a step toward energy independence. While it takes time and patience, installing a DIY solar system is a rewarding project. With each sunny day, you’ll see the results in reduced energy bills and a positive impact on the environment. So, take the leap, follow this guide, and start your journey toward sustainable living.


1 thought on “DIY Solar Panel Installation: A Step-by-Step Guide to Powering Your Home”
Comments are closed.